This tutorial will show you how to manually and easily set up a VPN for android devices using the L2TP/IPsec protocol.
You would need the credentials sent to you via email to authenticate. Please locate and keep it handy before starting this process.
Set up the VPN Configuration
Note: Different Android devices have different user interfaces, depending on the manufacturer. If your device interface looks drastically different from the one shown in our steps below, please contact support for further assistance
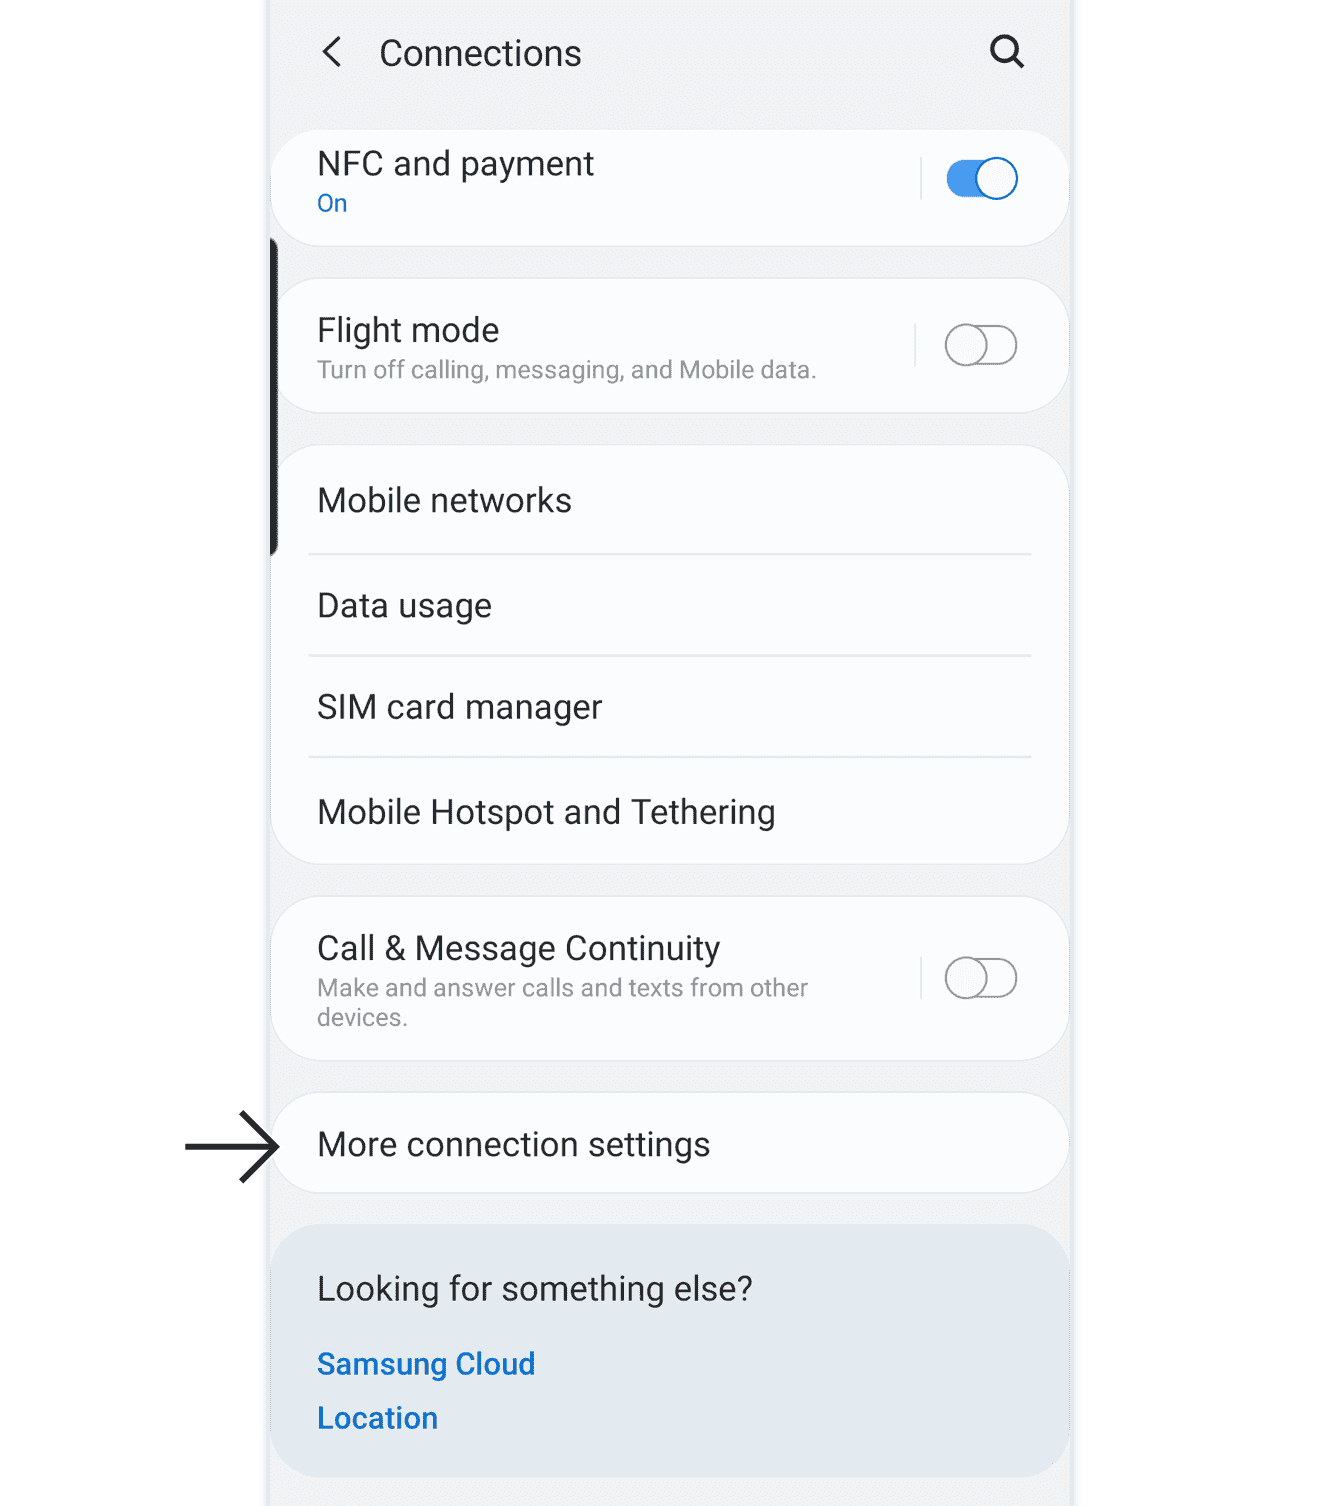
On your Android device, tap Settings > Connections > More connection settings. (For other versions of Android, this might be Settings > More… > Wireless & Networks.)
Tap VPN. Then tap ![]() and Add VPN Profile. (For other versions of Android, tap
and Add VPN Profile. (For other versions of Android, tap ![]() )
)

On the Edit VPN profile screen, enter the following:
- Name: Enter a name that will help you recognize your VPN connection. For example: TREJJ TUNNEL.
- Type: Select L2TP/IPSec PSK.
- Server address: Enter the server address shared to your email (usually tunnel.trejj.net).
- L2TP Secret: Leave this field blank.
- IPSec identifier: Leave this field blank.
- IPSec pre-shared key: Enter trejj
- DNS search domains: Leave this field blank.
- DNS servers (e.g. 8.8.8.8): Leave this field blank.
Then tap Save.

Tap the VPN profile you just created.

Enter the username and password you found earlier. Make sure Save account information is ticked.
Then tap Connect.

Congratulations! You should now be connected to the VPN.
To check if you have successfully connected to TREJJ TUNNEL , tap the VPN profile. If it says, “VPN is connected,” your connection is working.
You Can Now Verify If You're Successfully connected to your new location by visiting : https://whoer.net or similar services.

To disconnect, tap Disconnect.
If you require further assistance, Please Contact Support
